Please also visit my website: http://www.sjwoodturn.weebly.com/. In the future there will be items there to purchase, or if you have a specific request, please feel free to contact me.


Thursday, January 27, 2011

Engraved Name Boxes

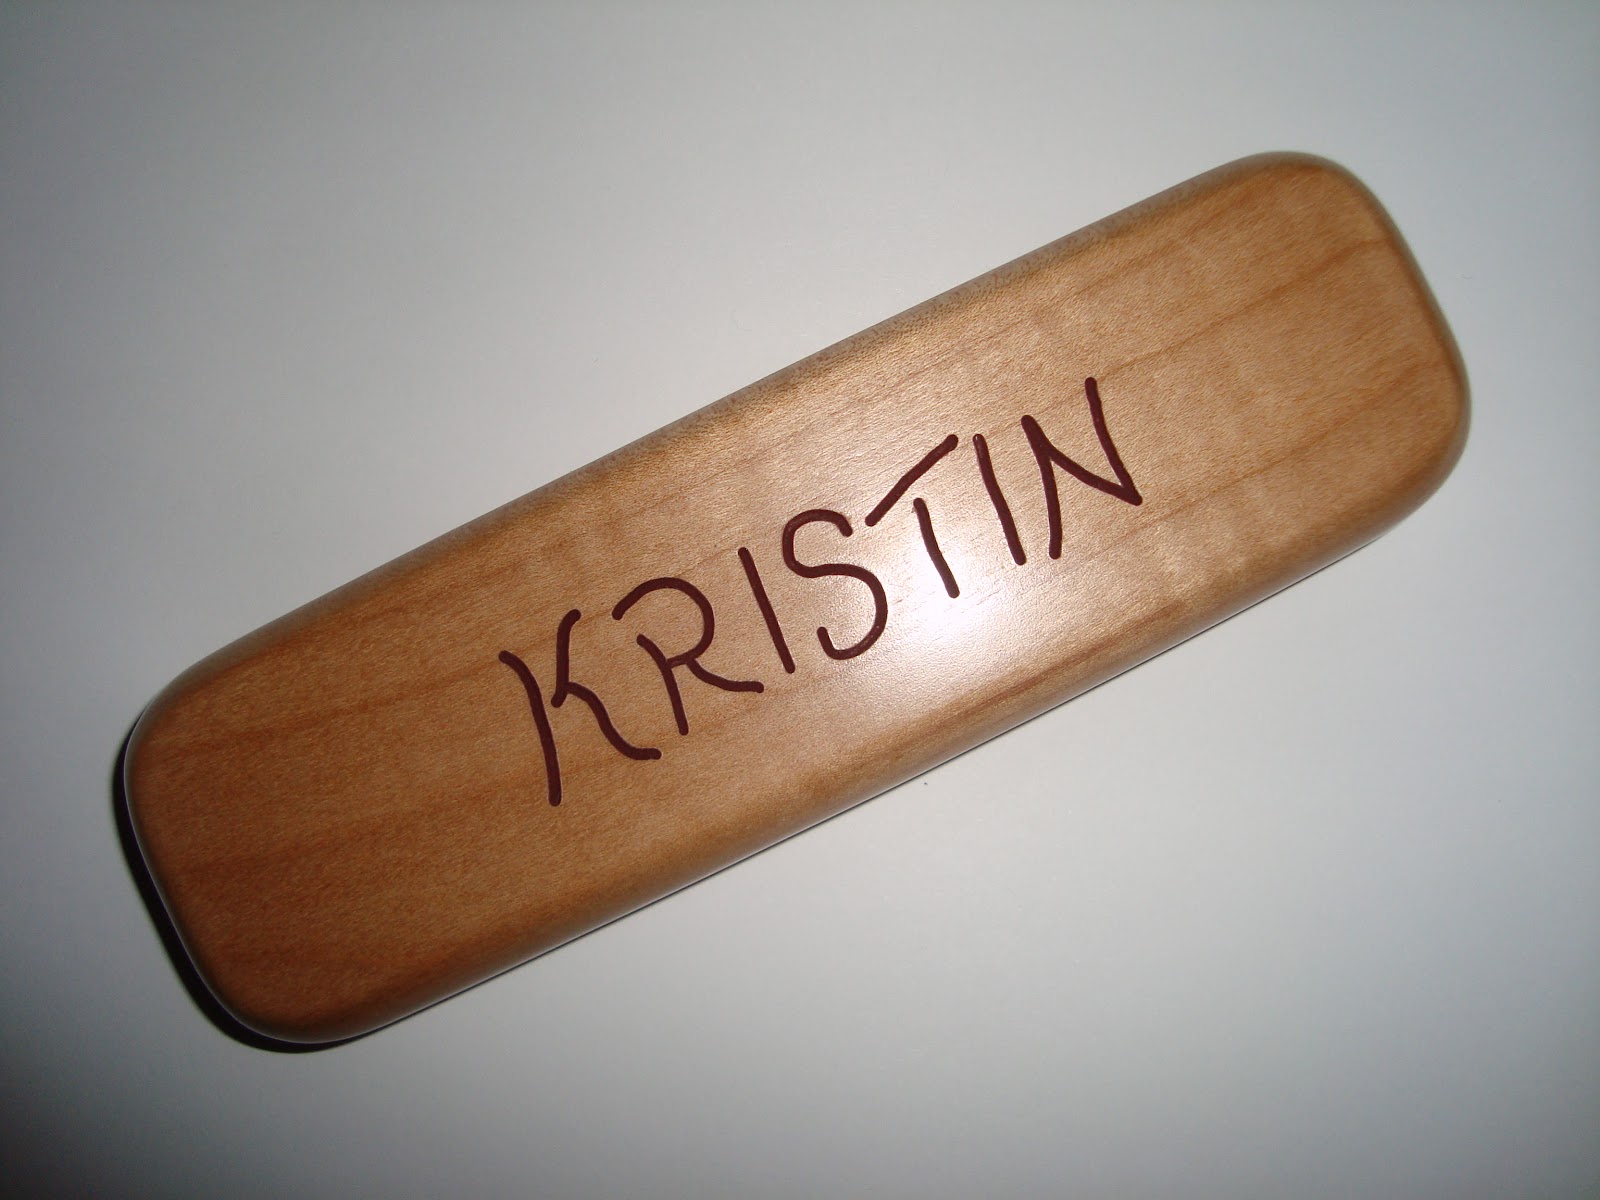
My Co-worker who purchased all of the Pen/Pencil sets in my previous post had asked me a couple of times if I could engrave the names of those to whom the items would be given.  I advised her that I did not quite have the equipment nor the skills to do that.  The more I thought about it, however, I realized that there was a possibility I could give it a try.  There was one Pen/Pencil set that she was giving to her husband (Ray).  After I completed that set, I grabbed my Dremel Rotary Tool with my Plunge Router attachment and a scrap piece of wood.  I had designed a few letters to attempt to engrave Ray's name, and my test on the scrap piece of wood was successfull.  So I decided to go ahead and engrave his name on the top of the box for his Pen/Pencil set.  I wanted to do this for him as a gift as he had given me earlier a bunch of raised pannel doors that he no longer had any need for.  When I presented the pen/pencil box to my co-worker, excited does not even begin to describe how she reacted.  She loved it.  I let her know that if she wanted to I would go ahead and engrave the names on the rest of the boxes if she would like.  She decided that she wanted me to do that and here are the results:


Pens for Christmas

I've been a little buisy, but I finally decided just to take a moment and post some picutres of a few pens that I made and sold to a couple co-workers for Christmas.  These were all items they purchased to give to family/friends as Christmas Gifts.
Pen Style: El Grande
Wood: Pink Ivory

Pen/Pencil Style: Comfort Grip Slimline
Acrylic: Camo

Letter Opener: Apprentice
Wood: Cocobolo

Pen/Pencil Style: Comfort Grip Slimline
Wood: Cocobolo

Pen/Pencil Style: Comfort Grip Slimline
Acrylic: Crimson Crushed Pearl

Pen/Pencil Style: Comfort Grip Slimline
Wood: Dakota

These were all a lot of work, but great fun to build and give to my co-workers.  They really enjoyed them and have told me that their family memebers that they gave them away to were quote pleased also.

Wednesday, December 29, 2010

Quilting Frame

My wife is so proud of me. I actually planned a little ahead for Christmas this year. She (and her father) are notorious for having Christmas presents bought for at least one year prior to giving them. I came of with the idea in the middle of this summer to make her a Quilting Frame, and was lucky enough to come across some cheap wood to build it with. I was walking through my local Home Depot and saw that they had a FABULOUS sale on their Douglas Fir Clear lumber. I learned later that they were no longer going to be carrying that particular species of wood, so they were trying to get rid of their inventory. Score for me!

I went ahead and purchased a few pieces and started looking online at some different types of Quilting Frames to get some ideas. I drew up a few rough plans and worked out some dimentions over a few weeks in July. Most of the parts of the frame were completed by August/September, I just had a few small details to finish prior to Christmas, which gave me plenty of time. Currently the height of the frame is approx 4 Ft, so I'm going to be drilling some more holes down the legs so that the frame can be lowered to a more comfortable level for sitting and quilting. At the current height it is great for standing only.


Christmas Is Over and Projects Were Completed In Time

WHEW!!!! That was quite an ordeal to get all of my projects comeplted in time, but I made it. I was able to complete the quilting frame for my wife. I made some puzzles for my nephiews, and I made some pen-pencil sets for my co-worker to give to her family for Christmas Presents. I'll have some picutres posted of some of these along with some details and ramblings (sorry I don't have picutres of the puzzles yet, I'll have to get some taken and post them later.)

Thursday, December 9, 2010

Projects in the Works

I'm feeling more and more every day how few days we have left 'till Christmas. I have almost completed all 5 pen/pencil sets for a co-worker. A couple of puzzles are in the works and also close to being completed (just need to cut them out and glue down the borders to the backer boards). I also have just a couple very minor details to finish for my Wife's gift. If there is time I do have a couple of other items I'm going to try to make (spinning tops for the kid).
The blank of Cebil wood I had issues with a couple of weeks ago, I've decided to try something different with. As soon as it is completed I'll post a picture for your viewing pleasure. I showed the idea of what I was going to do to another co-worker, and she said "I was just looking at one of those in the store the other day!" I told her not to buy it from the store, I'll make it and she can buy it from me.
It is kind of funny because most all of the people I work with are working on their MBA's and keep giving me advise on starting a business and how to run/market it and all of the things I'm making. I keep telling them that for now it is a hobby and I sell mainly just to feed my hunger for the hobby. If the occasion arises down the road, I may start a small business, but for now, just a hobby.

Monday, November 22, 2010

Drill Your Pilot Holes!!

I attempted to turn a block of "Cebil" wood that I purchased from Woodcraft. I cut the corners off at the bandsaw so that I could turn the block round more quickly. I debated inside my head for a short time if I should use a glue-block or screw it directly onto my faceplate. I decided screw my blank directly onto my faceplate, and also decided to just drive the screws into the blank without drilling pilot holes.
A BAD idea for a couple of reasons: First, the screws did not secure the faceplate completely to the face of the block of wood. Second, the screws I used must have been really cheap because two of the heads broke off while trying to drive them into the block. So . . . with only two screws only somewhat holding my block of wood onto my faceplate, I decided to mount the wood onto my lathe and give it a whirl. Not thinking of myself as a complete idiot, I started my lathe at the slowest speed possible and stood out of the line of fire, just in case.
With no wood flying across the shop, I decided to turn up the speed (a little) and start making some chips fly. After a couple of minutes (the block not even completely round yet) I decided to stop the lathe as it seemed as thought the block was not spinning true anymore. I was correct in my thinking. Due to the roughing out process of trying to get the blank round, the screws were holding the blank a little less secure and it was starting to wobble. I tried to tighten the screws (remember only two of them were actually holding the blank) but they just would not pull the blank securely into the faceplate. At that point I decided to stop before I caused myself any serious injury.

A couple lessons learned:
1- If you have a little thought in your head that says "hey. . you should probably drill some pilot holes for that . . . " take the time and do it!!
2- Don't buy screws from Wal-mart, their heads come off!!
3- If you don't feel 110% confident that your blank is secure, DON'T TURN IT!

What I'm grateful for:
1- My Family
2- My Faith
3- Not having a piece of wood fly into my face! :)

Monday, November 15, 2010

New Temporary Shop

I've been living with my inlaws for a few weeks now and this weekend I was finally able to start working in the space my father-in-law had given me to use my lathe. The space he has given me is great and will work perfectly for me this short time we are planning on living there. He has a few extra tools up there that he told me that I could use also. He has a band-saw, small miter saw, and a drill press. They are all old used tools that he was able to get at great deals, and they all work quite well.

On Saturday I was able to spend a little time actually turning some pens a friend at work has ordered from me for her family Christmas gifts. They turned out quite nice (pics to be added soon). I have a new pen finish that I'm using and it seems to work really well. It is called HUT Crystal Coat and I bought it from Woodcraft. I'm quite pleased with the results. It leaves a nice shine on the pens, and it only takes a couple of drops on a clean, dry cloth.