Tuesday, February 22, 2011
Drum Sander Continues
Sorry, but I have not yet taken any pics of my drum sander I'm making. I have had a couple of issues. I used contact cement to glue together disks of plywood, which I have learned is not the best way to join these disks together. There have been a couple of joints between these disks that have failed and I am back at square one on creating the drum for my sander. I have the bed almost completed, and should have pictures soon of that, but I'm going to have to start over with making my drum. I'm planning on using regular wood glue and cutting the disks out of MDF. I promise, pictures are to come!

Thursday, February 10, 2011
Jerry Sloan Resigns Today
This blog is mainly for my woodworking projects to be shown and discussed, however, I learned some news today that I thought deserved a post. Jerry Sloan, the 24 year Coach of the NBA's Utah Jazz, is being reported to resign today along with his assistant coach Phil Johnson. I have always been a fan of the Jazz ever since I was a young boy planing in the Jr. Jazz community leagues. I love going to their games and watching them on TV. Learning of the departure of Sloan is a bitter-sweet moment for me. On one hand he has been the coach for so long, it will be odd to see someone else in his place. On the other hand, I have felt for the past couple of years that if the Jazz had a different coach, would they possibly be able to get over the hump and win a championship? Don't get me wrong, Sloan has been a great coach, but I do think that it has been some time coming for him to part ways with the Jazz. I'm excited to see who will take his place, and to see how his replacement will revamp the game strategy of the Jazz. They have a great team with a lot of young talent. I see good things for their future. GO JAZZ!!!
Monday, February 7, 2011
Thickness Drum Sander
I have been looking for a little while at homemade thinkes/drum sanders. I have seen many made with motors from old dryers, some made with a drive belt attached to a table saw, and some powered by a lathe. I decided to give it a try and have started making one to be powered by my lathe. I have made a bed that is adjustable and am currently working on the drum which will be turned between centers on my lathe. The way I have it currently there is only approx 1 1/4 in max thickness that can be sanded, so I'm sure I'll take another crack at it some day, but for now I'm kind of prototyping to see if I can at least get one made that will work. My main reason for wanting to make one of these is so that I can do some more segmented turning. With this I will be able to ensure that my individual rings are sanded flush and parallel top to bottom. I'll take some pictures of what I have so far and post them, then put up another post when it is completed and discuss how it works.
Thursday, January 27, 2011
Engraved Name Boxes
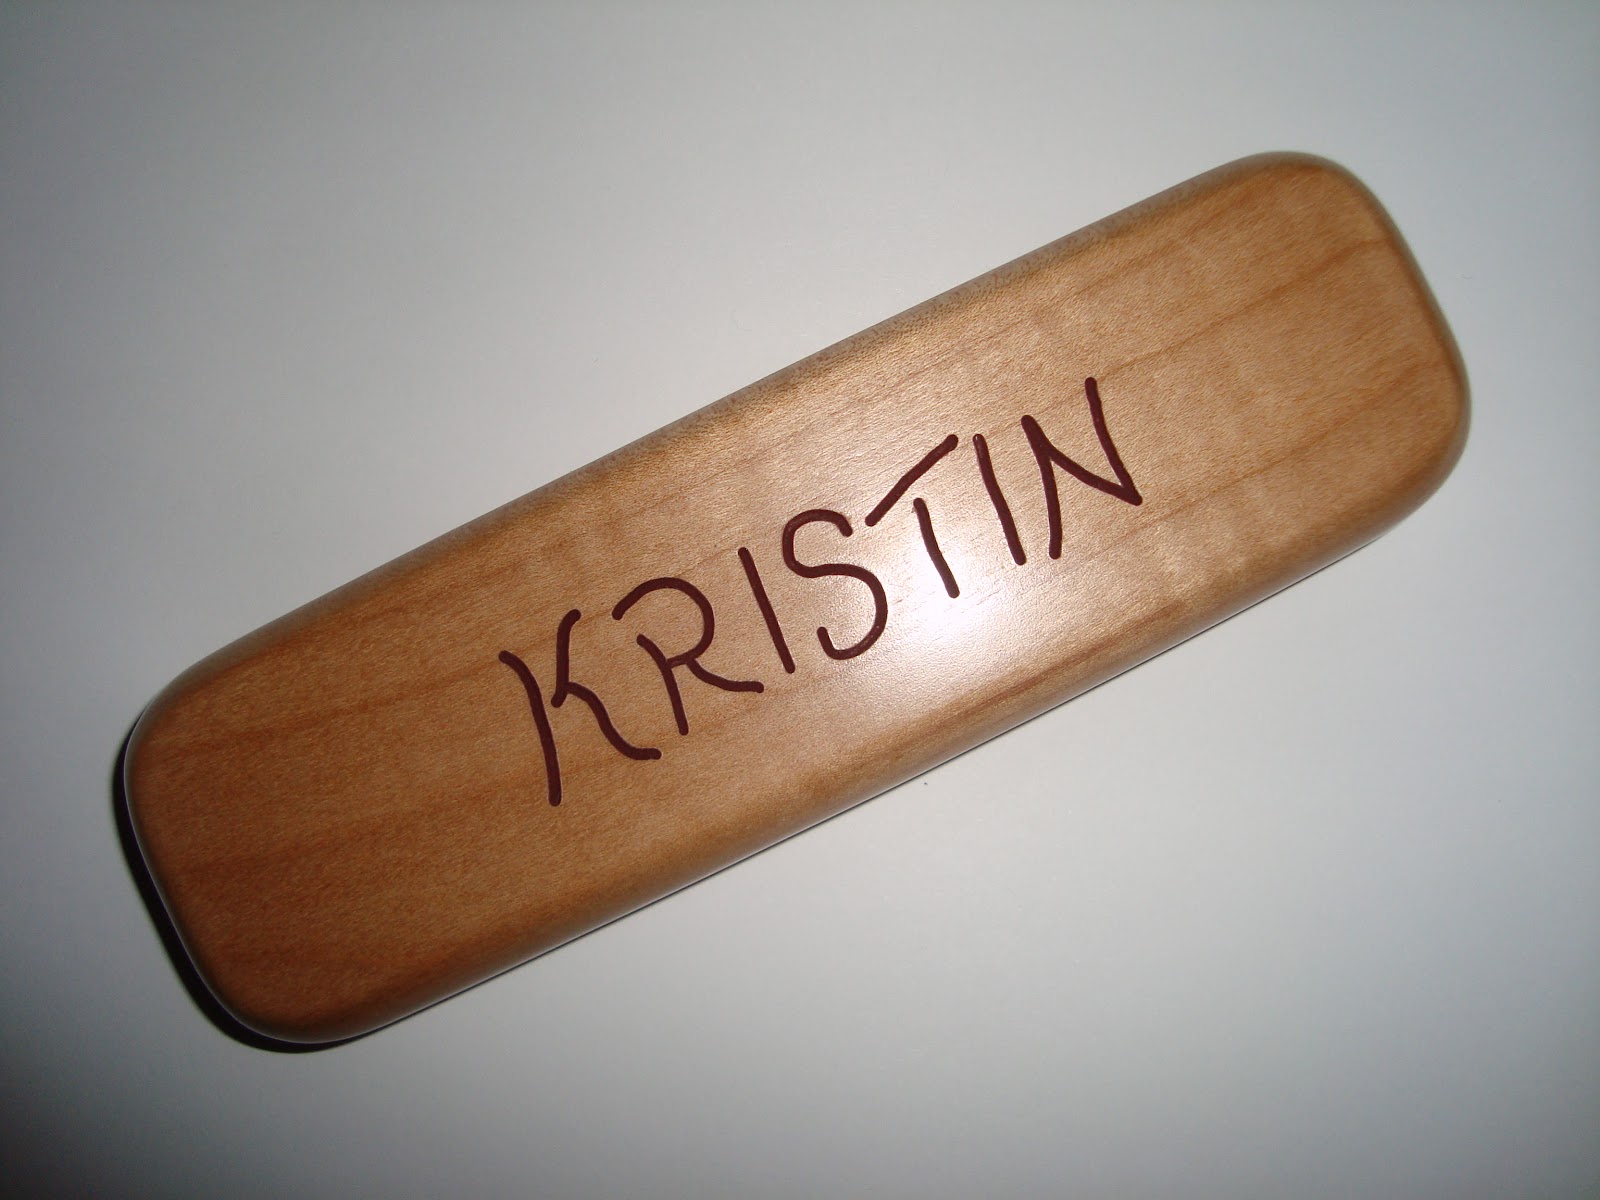
My Co-worker who purchased all of the Pen/Pencil sets in my previous post had asked me a couple of times if I could engrave the names of those to whom the items would be given. I advised her that I did not quite have the equipment nor the skills to do that. The more I thought about it, however, I realized that there was a possibility I could give it a try. There was one Pen/Pencil set that she was giving to her husband (Ray). After I completed that set, I grabbed my Dremel Rotary Tool with my Plunge Router attachment and a scrap piece of wood. I had designed a few letters to attempt to engrave Ray's name, and my test on the scrap piece of wood was successfull. So I decided to go ahead and engrave his name on the top of the box for his Pen/Pencil set. I wanted to do this for him as a gift as he had given me earlier a bunch of raised pannel doors that he no longer had any need for. When I presented the pen/pencil box to my co-worker, excited does not even begin to describe how she reacted. She loved it. I let her know that if she wanted to I would go ahead and engrave the names on the rest of the boxes if she would like. She decided that she wanted me to do that and here are the results:




Pens for Christmas
I've been a little buisy, but I finally decided just to take a moment and post some picutres of a few pens that I made and sold to a couple co-workers for Christmas. These were all items they purchased to give to family/friends as Christmas Gifts.


Pen Style: El Grande
Wood: Pink Ivory

Pen/Pencil Style: Comfort Grip Slimline
Acrylic: Camo

Letter Opener: Apprentice
Wood: Cocobolo

Pen/Pencil Style: Comfort Grip Slimline
Wood: Cocobolo

Pen/Pencil Style: Comfort Grip Slimline
Acrylic: Crimson Crushed Pearl

Pen/Pencil Style: Comfort Grip Slimline
Wood: Dakota

These were all a lot of work, but great fun to build and give to my co-workers. They really enjoyed them and have told me that their family memebers that they gave them away to were quote pleased also.
Wednesday, December 29, 2010
Quilting Frame
My wife is so proud of me. I actually planned a little ahead for Christmas this year. She (and her father) are notorious for having Christmas presents bought for at least one year prior to giving them. I came of with the idea in the middle of this summer to make her a Quilting Frame, and was lucky enough to come across some cheap wood to build it with. I was walking through my local Home Depot and saw that they had a FABULOUS sale on their Douglas Fir Clear lumber. I learned later that they were no longer going to be carrying that particular species of wood, so they were trying to get rid of their inventory. Score for me! 
I went ahead and purchased a few pieces and started looking online at some different types of Quilting Frames to get some ideas. I drew up a few rough plans and worked out some dimentions over a few weeks in July. Most of the parts of the frame were completed by August/September, I just had a few small details to finish prior to Christmas, which gave me plenty of time. Currently the height of the frame is approx 4 Ft, so I'm going to be drilling some more holes down the legs so that the frame can be lowered to a more comfortable level for sitting and quilting. At the current height it is great for standing only.


I went ahead and purchased a few pieces and started looking online at some different types of Quilting Frames to get some ideas. I drew up a few rough plans and worked out some dimentions over a few weeks in July. Most of the parts of the frame were completed by August/September, I just had a few small details to finish prior to Christmas, which gave me plenty of time. Currently the height of the frame is approx 4 Ft, so I'm going to be drilling some more holes down the legs so that the frame can be lowered to a more comfortable level for sitting and quilting. At the current height it is great for standing only.


Christmas Is Over and Projects Were Completed In Time
WHEW!!!! That was quite an ordeal to get all of my projects comeplted in time, but I made it. I was able to complete the quilting frame for my wife. I made some puzzles for my nephiews, and I made some pen-pencil sets for my co-worker to give to her family for Christmas Presents. I'll have some picutres posted of some of these along with some details and ramblings (sorry I don't have picutres of the puzzles yet, I'll have to get some taken and post them later.)
Subscribe to:
Posts (Atom)